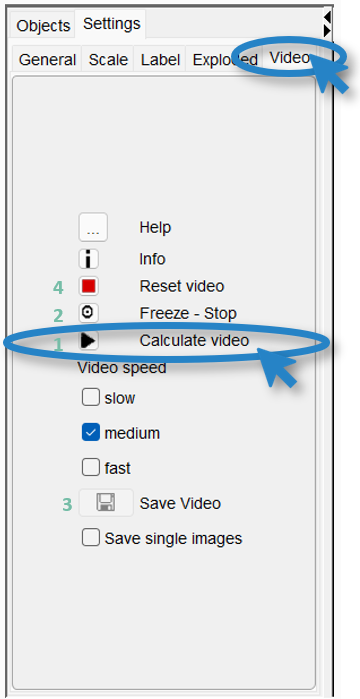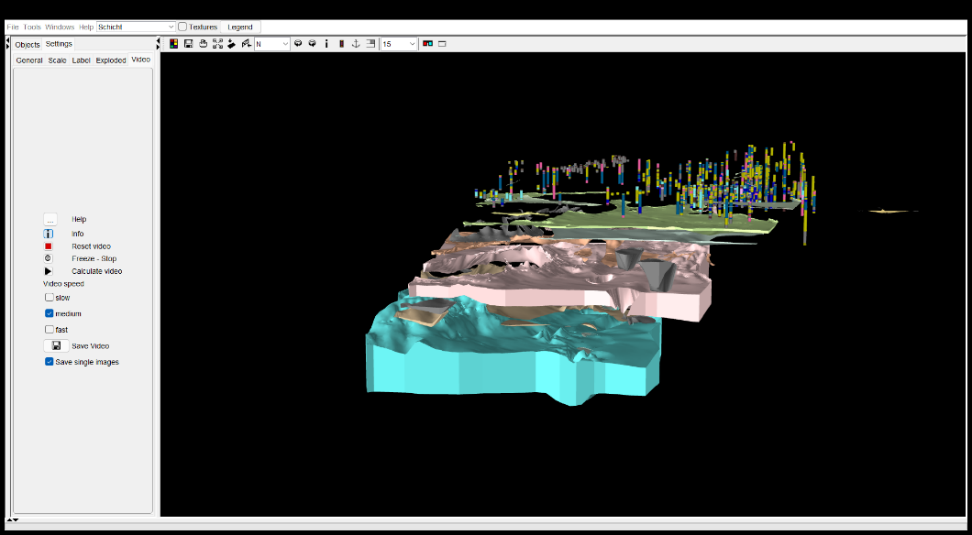
In the 3D view, a video recording can be made of the model. You will find the functions on the left side under the tab settings - video.
Basically, the functioning of the video recording is simple. You position a 3D model in a favourable position, take a momentary shot, rotate the model further, take a shot again, cover a layer, take a shot, rotate again, take a shot, and so on.
The video will be calculated from these snapshots. Depending on the setting slow, medium or fast, a number of states are calculated and recorded between your snapshots, that the video appears smooth. This function is limited to movements in the 3D view - rotations and positions in exploded mode are also included.
Examples of videos produced in this way and used as a template for an animated gif can be found here home page.
You can save the single images of your video with an active check mark at save single images. These can be used for publications or further processed with relevant video editing programmes.
Here you will find the explanation of the video creation step by step:
-
Make the snapshots with
 .
. -
The model can be moved to the next position by rotating it, changing the slant, showing or hiding objects, or using the exploded mode. The exploded mode is set via the tab exploded. For each change that is to be recorded,
 must be clicked. New anchor points of the recording are always set, which are used to create intermediate positions when calculating the video. For larger changes, more intermediate sequences are calculated. The number of intermediate sequences can be controlled via the slow, medium and fast setting in the Video speed section. The number of calculated intermediate sequences determines the speed of the video.
 -
Under
 the created video is played. If the tool
  (Rotation) is clicked in the toolbar of the 3D view, the video can be played until the last "freeze" point. With reverse rotation, the video runs backwards. To add more sequences to the video, further settings are used in combination with
  . To start from the beginning
  must be clicked.
 -
With
 the video is saved. With
  , jpg files are saved for the individual intermediate steps of the video. These can be used with other video editing products. The reader needs a few seconds to minutes until the saving process of the video is finished. The format is mp4 by default. Other video formats can be selected.
Note: If you want to have access to all video formats (incl. mp4), you should not delete or move the application ffmpeg.exe from the programme folder of the SubsurfaceViewer.
That the previously recorded video does not become part of the new video,  must be selected.
Under  the video size is displayed. It corresponds to the size of the 3D window. If all three window views are open during recording, it is relatively small. With the arrows
  at the window edges the other views can be closed to get a full view of the model to be recorded.

Quick guide: Recording videos
- Settings → Video
- click
to start the sequence
- move model
as end point of the sequence
→ choose storage location
- Finish → Video is saved