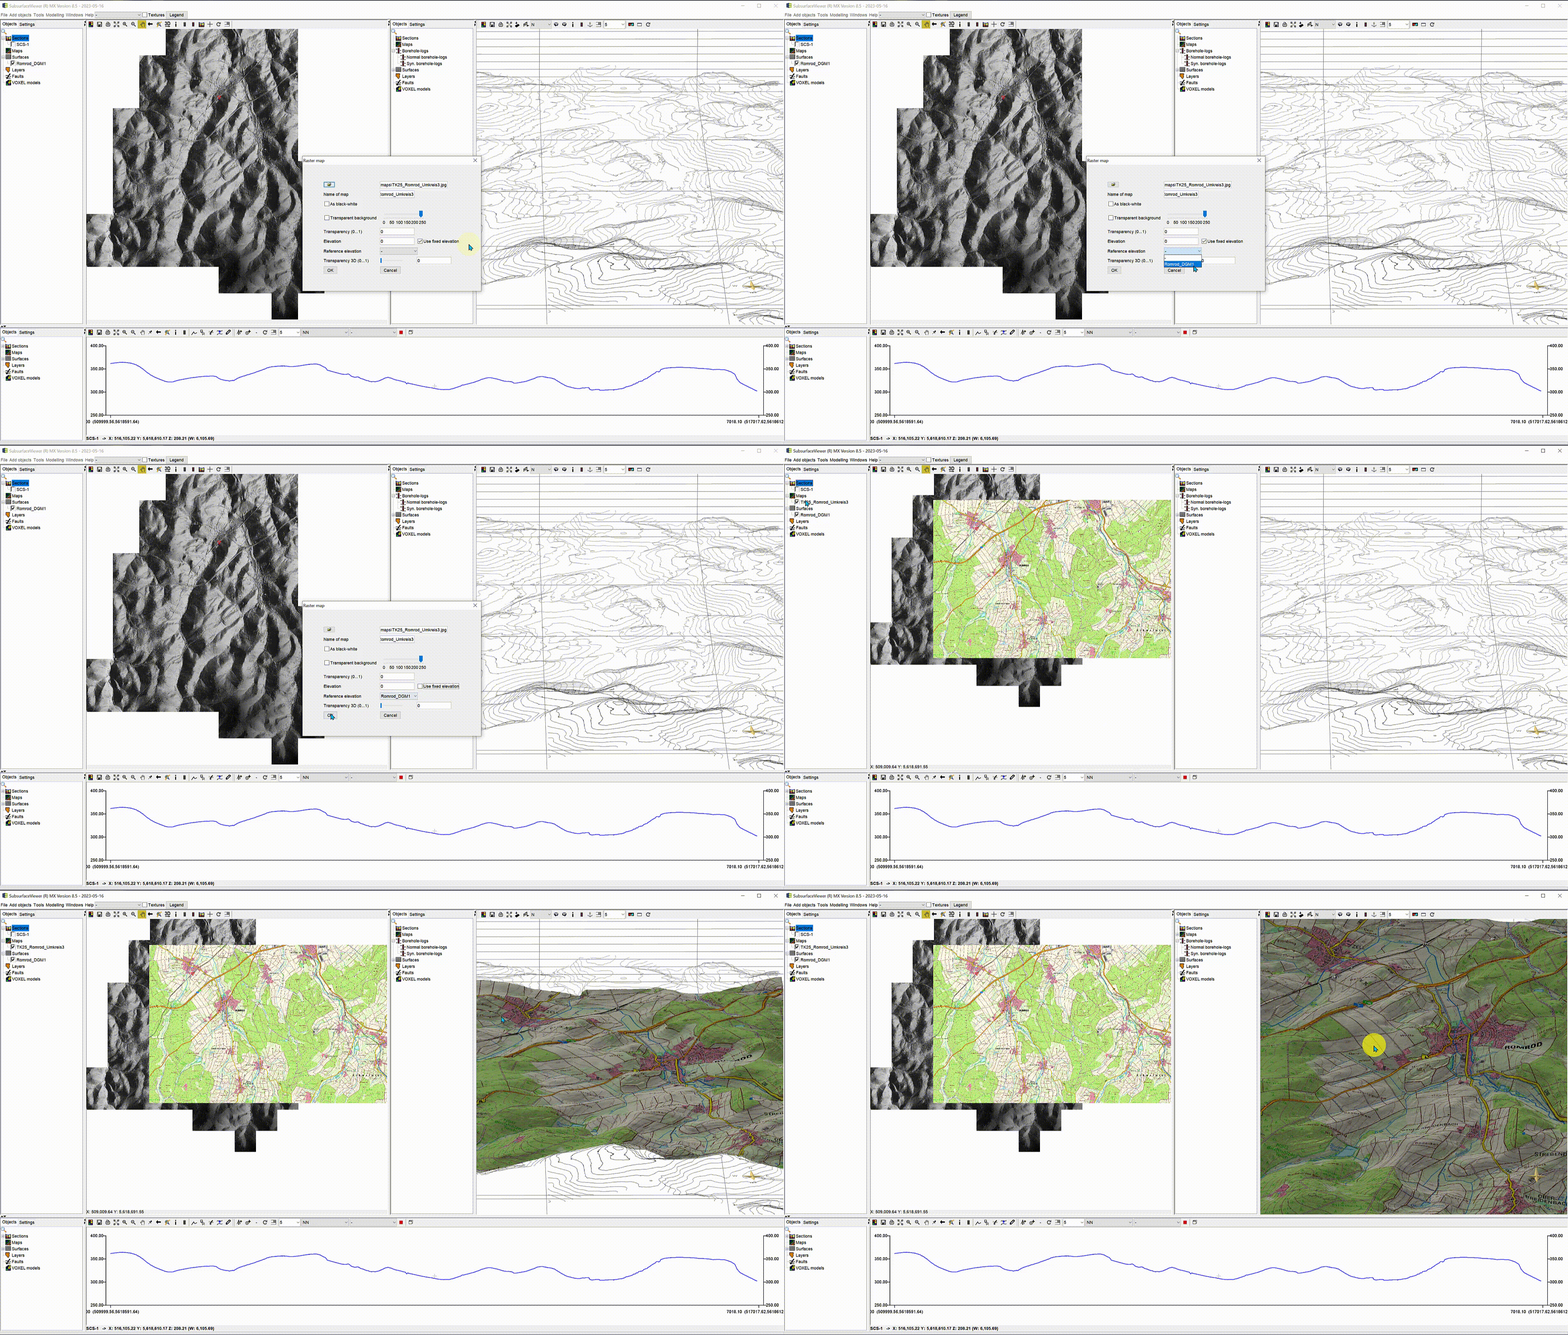
Load maps or satellite images in Image format via the Main menu bar -> Add objects -> Raster Map.
Important note: You must have an accompanying World-File for this.

See the article Elevation raster with a topographic map for more information.
Note: The invited map in the example is the DTK100 (WMS service) from the Hessian State Office for Land Management and Geoinformation and is available for download here via GIS. The elevation model used for the 3D view was generated from the ATKIS®-DGM1 data (source) of the Vogelsbergkreis.
¶ Settings
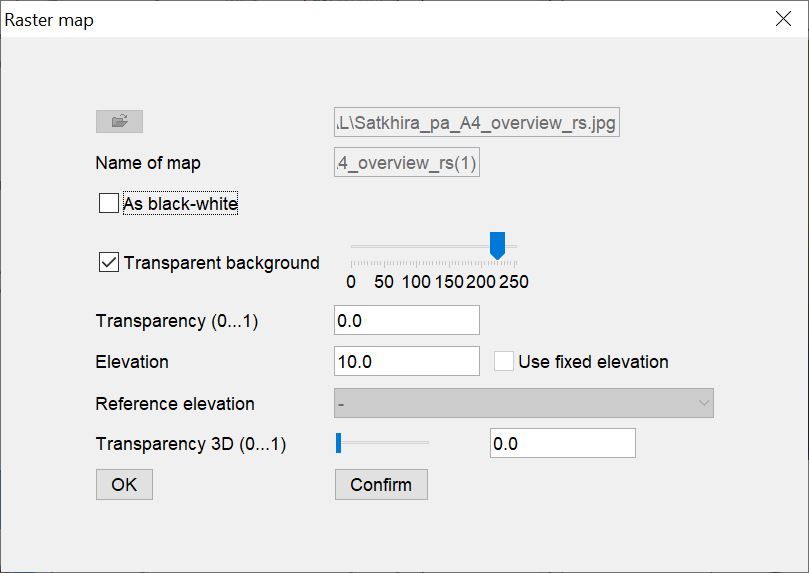
 Settings for maps are described here:
You can display a map in black and white by checking As black-white.
With Transparent background and the slider on the right, you can make certain colour values completely transparent. Usually the background colour of maps is lighter than markings or roads. Use the slider to set the RGB limit. All colour values lower than the limit value are displayed, all higher ones are switched to transparent. In this way you can, display roads or certain features of a map over another background of the 2D-View, for example an elevation grid, without obscuring interesting information.
With *Transparency (0...1) you define a transparency value that is valid for the entire map. 0 means opaque, 1 corresponds to complete transparency.
If you want to view the map in the 3D view together with your data, set a fixed absolute elevation value (e.g. m NN) and a check mark at Use fixed elevation when loading the map (!). Another way to do this is to define a Reference elevation. Select a surface (raster/TIN) that exists in the project from the Dropdown list and deactivate the check mark for Use fixed elevation. This way you virtually place the map on the selected surface.
With Transparency3D you can specify a transparency value of the map for the 3D view. 0 = opaque, 1 = completely transparent.
Important note: The reference surface or height can not be changed when the map is loaded. You must set these settings in the loading window! {.is-warning}